There are loads of new videos on my youtube channel.
Go check them out from the link on the left!
There are loads of new videos on my youtube channel.
Go check them out from the link on the left!
What does it all mean?
These classifications have been banded around for many years, but what are they and what relevance do they have?
This is how I see the differences in terms of time scales.
Does not seem a long time ago, but at the time of writing this post, 100 years ago was 1919 – My Grandfather on Dad’s side was 16 years of age 100 years ago!
The Wright Brothers first powered flight took place in the same year (1903)! – The world is moving on!
Wine is generally classified as vintage, but it can be applied to anything really. Clothing from the 1970s will soon be vintage, as will I!
Currently, that puts me in the retro category of life. In a couple of years I will Vintage! ha ha.
Computers and game consoles come under this category, as do cars, boats, clothes etc – Usually this means anything from your childhood.
This is where my web site and YouTube channel is aimed. RETRO all the way!
I had completely forgotten about this range of books, until I rediscovered them on eBay.
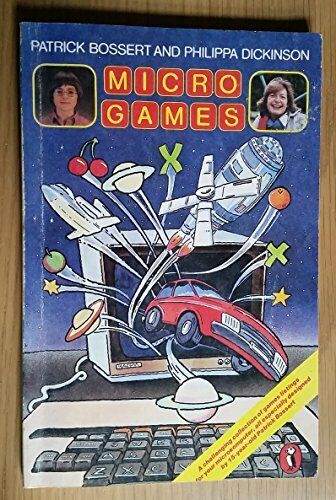
Patrick Bossert was a child prodigy who first wrote a book in 1981 (At age 13) about the Rubiks Cube ‘You can do the cube’, along with a graphical notation, designed to be easily understood by novices. He featured on many kids TV programs in the UK in the early to mid 1980s demonstrating how he solves the puzzle.
Philippa Dickinson is the former head of Penguin Books.
More retro books for my collection. I was put on to this series of books about 2 years ago by a work colleague and ‘borrowed’ a copy of the ZX Spectrum guide to read.
I have since been trawling eBay for more versions and so far have acquired 4 of them.
Not sure how many systems they cover.
Here are the ones I currently have;

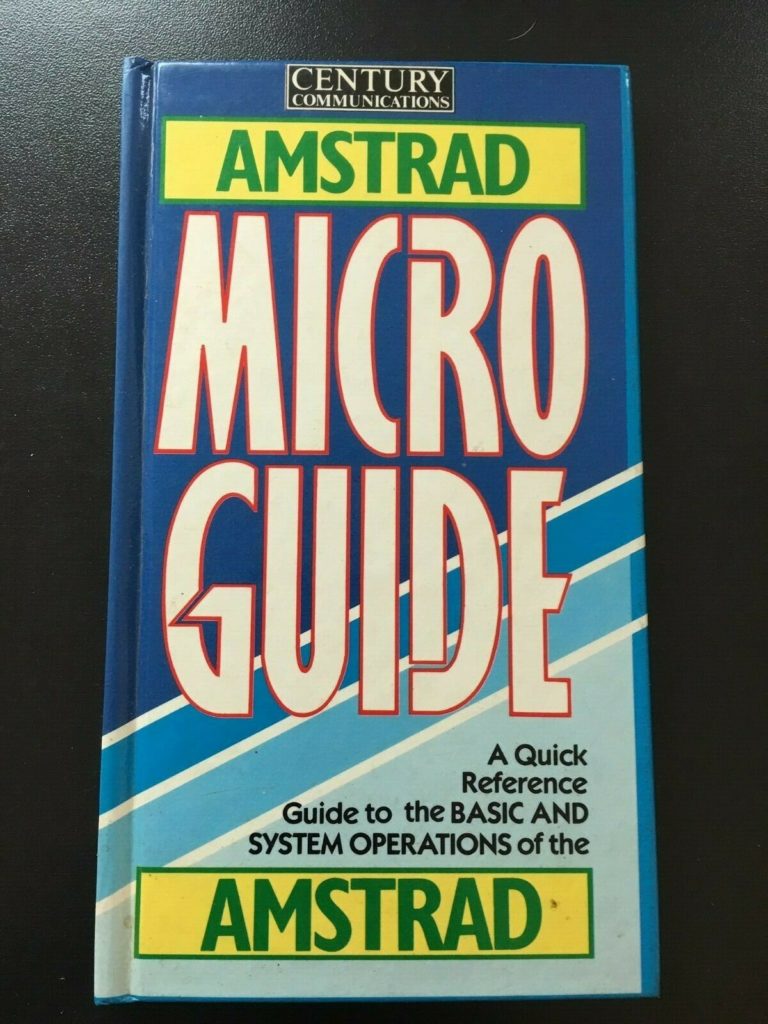
Update: 27/11/19 – I have acquired the Acorn Electron version of the book and I will upload a picture of it once it arrives from eBay. (I cannot find any image of this book on google search, so maybe its pretty rare?)
Update: 10/12/19 – Sad news. The Acorn Electron book has not turned up and I have been refunded the item price via eBay. It has either been eaten by the Post Office monster, or it was never shipped from the ‘Land of make-believe’ – Disappointed!!!
It now looks like there is 1 last copy to find .. For the Dragon computer.
Finally, after what seems like an eternity, the FrankenSTEin (Raspberry Pi in Atari ST case, emulating an Atari STE) is complete, working and ready to be used!
You can see the results of my hard work over on my YOUTube channel . Check it out by clicking on the YOUTube menu on the left.
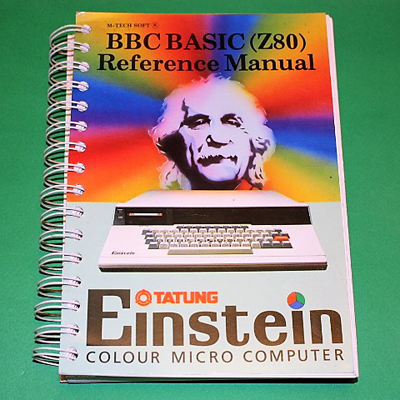
Another acquisition from eBay – BBC Basic (Z80) manual.
I think this is the last of the large ‘Ring Bound’ manuals that was available for the Einstein, but it certainly isn’t the last book available. There are still a large number more lurking on the net!
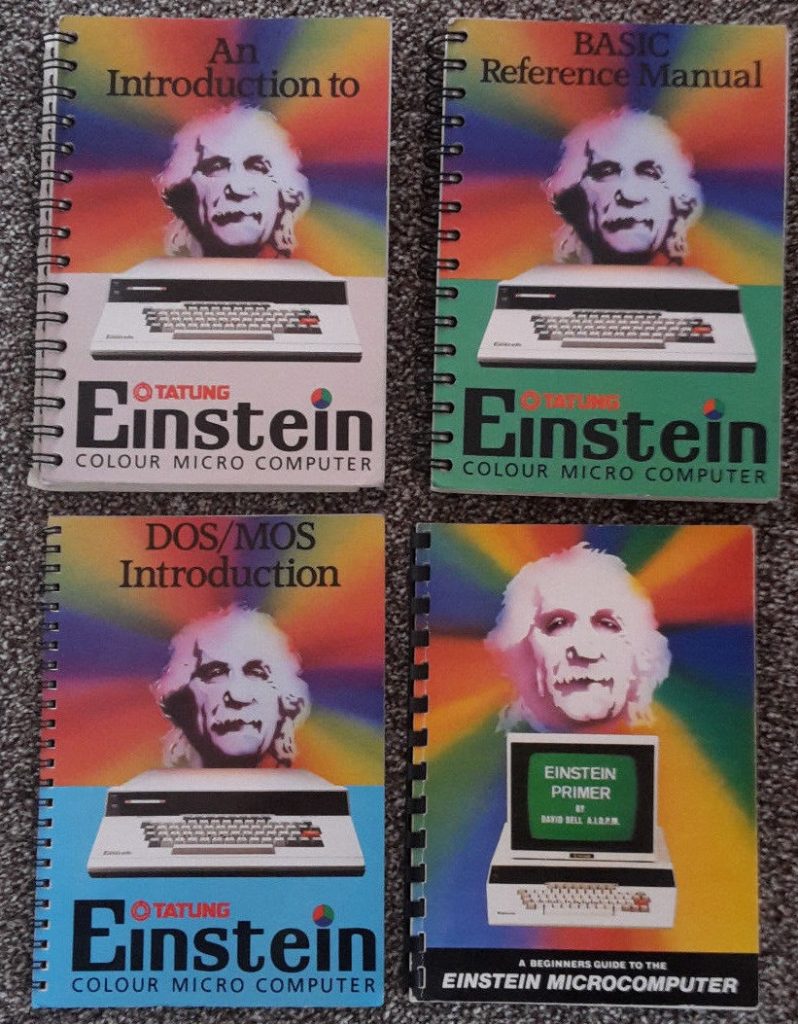
I purchased a full set of Einstein manuals from eBay recently, and took delivery of them today.
We have;
An introduction to ..
DOS/MOS Introduction
Einstein Primer
Basic Reference Manual
Within the shipment was some additional material!
A vintage Sharward Service flyer/PD price list – 8 A5 pages of prices and hardware/software – I have not seen one of these scanned anywhere!
Sharward Services are still operating as a company, and I have contacted them via eMail and received a reply from Sharon, who is an original employee from way back ..
A hand written page on using MOS to program Z80 Assembler and save as executable files. Who ever had these before me, seemed to know what they were doing.
Additionally I purchased
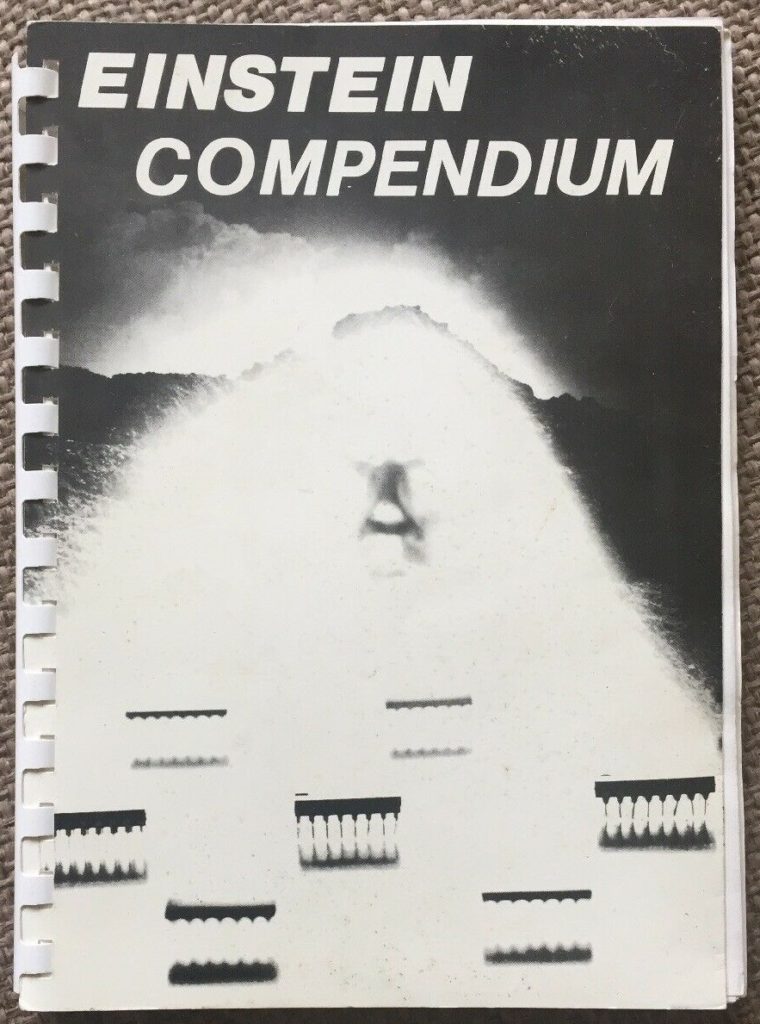
Einstein Compendium – This is the official U.K.E.U.G (UK Einstein User Group) book with tricks, tips and listings – Released in the mid 1980s
This is a copy of a post from my old Blogger site – Circa 2010. Brought back to life here now that Google + and associated data is being closed on April 28th 2019!
Not so much Retro as oldish Tech Hack
One of our old digital camera’s got scared and leaked its battery juice all over its insides and stopped working … so
Easy project to convert it to an IR camera whilst cleaning the acidy goo from its innards;

Vivitar 5188 – 5MP CMOS camera – Dead cheap and came with a wicked underwater housing;
Step 1, remove all the screws;
Step 2, remove the front and back case. Be carefull of any wires that are still connected.;
Step 3, carefully unscrew and remove the lens assembly;
Notice how the lens is red in colour, this is the filter that blocks IR light in normal operation. This has to be removed (carefully of course).
I did try to scrape away the red coating, but scratched the lens 🙁 – removing it seemed the sensible option as its not a focusing lens and not really needed!
Step 4, get yourself down to the local photo processing place and ask for some film that has been developed but has no image (It should be almost completely black when looking through it) – There may also be some on your own negatives. I was lucky and had 1 frame of completely exposed and developed film with no image on it.
Cut out 2 disks the same size as the lens and place them back to back so no visible light can be seen.
Secure them in to the lens housing with 2 spots of superglue (1 on each side) making sure you do not cover the screw thread on the lens.
Step 5, re-assemble the lens in the camera holder and tighten as far as it will go, but do not over tighten as you will touch and then destroy the CMOS sensor and this mod will be useless!
Step 6, start taking surreal alien like pictures with your new IR wavelength camera!
What do you think then eh?
I had an eMail from Google to say that Google + is closing on 2nd April 2019 because its hard to maintain and no one uses it! – Well we all can’t be Facebook can we?
Because of this, I have scoured my old Blogger posts and saved some here as well as backing up all my google + data (What use that will be I have no idea)
Over the course of the last 10 years I have only had 3,746 views in total! – Not worth the effort? Well, that is why I have not updated that blog in 6 years!!!!
Here are some of the highlights!
Posted in June 2011:
Found this underneath a load of books in the office!
Taken I think in 1980-1981 at Duke Street Primary School in Denton.
Soooo many faces I have not seen for many years!

That is me circled in red! Haw haw!
I think Mr Hinds who was the head teacher (At the back in the brown suit) passed away a few years back. 🙁 he would have been in his 90s I bet?
We are all nearly 50 now – Some closer than others!
Also Posted in June 2011:

Posted August 2010: (Links updated Feb 2019)
So my 2 Philips SPC880NC’s turned up at weekend; Bog standard CCD web cam. Unfortunately these do not work under Windows 7! 🙁
Fear not. There is a way to hack them to into SPC900NC’s which are recognised by Windows 7.
So … Both have been patched as per this web site; and are both seen in Windows 7.
One is to be modified for connection to my microscope, the other is to be a spare in case my proper astro scope bites the bullet.
For £12.80 + vat for the pair, I don’t think its a bad investment?
I have an AKAI MPK mini 25 note keyboard with drum pads. Its a mini USB keyboard that works with loads of music software and DAWs.
This is a great piece of kit, but due to its portable size, does not have pitch or mod wheels;
REASON is my music software of choice, and many years ago, I found a blog post on how to re-use old PDA’s as KAOS pad replacements in Reason or any other midi composing software.
I have transferred it from my old blogger site which is being closed down on Aptil 29th 2019.

Searching the web does not produce much other than 2 ideas.
1. Sell the keyboard and buy the AKAI APK49 – larger keys and pitch and mod wheels
2. Use a Pocket PC as an X/Y pad for pitch and mod control.
This is the Retro aspect, otherwise this would be too modern for me!
Number 1 is out as I just bought the thing and love its compact size… So.
The second option it is then;
I use Reason Essentials 1.5.1 as my main DAW (Or try to as I am not very musical, ROFL)
Here is the process I used to get a vintage Windows Mobile 2003 Pocket PC (Dell Axim X30) working as an X/Y pad with Reason 10. (just like this one, but I have run it on many different versions of Pocket PC as long as it can run .Net framework!)

<START>
Using google, search for LoopBe1 midi loopback driver – LoopBE1, download it and install it to your main machine
Install Active Sync 4.5 if you are using Windows XP, or use Windows Mobile Connection centre if you have W7 – Not sure about Windows 10 as I use this on a retro specific PC,
Search on google for Theresa Pocket PC Theresa Download and download the ZIP file and extract it to your desktop to a folder called Theresa
From the Theresa folder on your desktop, copy the server folder to somewhere accessible on your main machine and create a shortcut to the .EXE file (So you can run it easy when you need it) – You can set it to auto load, but I dont like too many things loaded unless I need them
Connect the Pocket PC to your main Pc and allow it to be detected and with Active Sync or Mobile Centre, then cancel when asked to set up a partnership (This is not needed. You can set one up if you wish though)
Explore the PDA/Pocket PC device and copy the client folder from the Theresa folder on your desktop to somewhere on the PDA or a memory card
Run the server exe file from where you copied it and you will get a new T icon on the task bar – It should have a little red dot at its top right
Run the client exe on the PDA
You will be presented with the main Theresa screen on the PDA. At top right is the power button to close the app. Next to it you will find the config button. Select this and you can choose which port the software will affect.

Click on the top option (DEVICE:) and you will be presented with a list of available ports on the PC. Select the LoopBe1 Midi driver/port and click ok. You have now set up Theresa to output midi data to the correct PC input driver

You can also change the skin of the software to match one of your favourite ‘Real life’ Midi Controllers
On your main PC, fire up Reason or Essentials or any other DAW you use (They should all work about the same)
Edit preferences and add a new control surface as ‘Other’, do not do an autodetect as nothing new will be found.
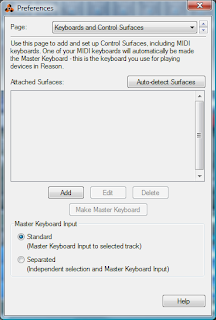
Now select the Advanced tab and enable loopbe1 midi driver as another input device.
You should now have 2 green ticks for input devices (one for your main input keyboard and another for the PDA X/Y Pad)
Close the window and add an instrument to Reason – Test it with your keyboard to make sure you get sounds
On the Theresa screen you will see little numbers in the green bar above each slider/pad area. This is the MIDI number that is transmitted when Theresa is used.
Click on each number to change it to your preferred MIDI channel/note/value etc
I changed the botton left vertical slider from 105 to 110 (This is the value of the LFO rate for OSC 2 in SubTractor analogue synth module)
Play a note and move the slider up and down with the PDA stylus – your synth sound should change as you move the slider, or whizz around on the top left pad.
Voila – a cheap (if not free) X/Y Midi controller – Its not quite a Kaosscilator or a Korg Nano Pad, but its not bad.
(I will add more screen shots as and when I get chance)
Enjoy!